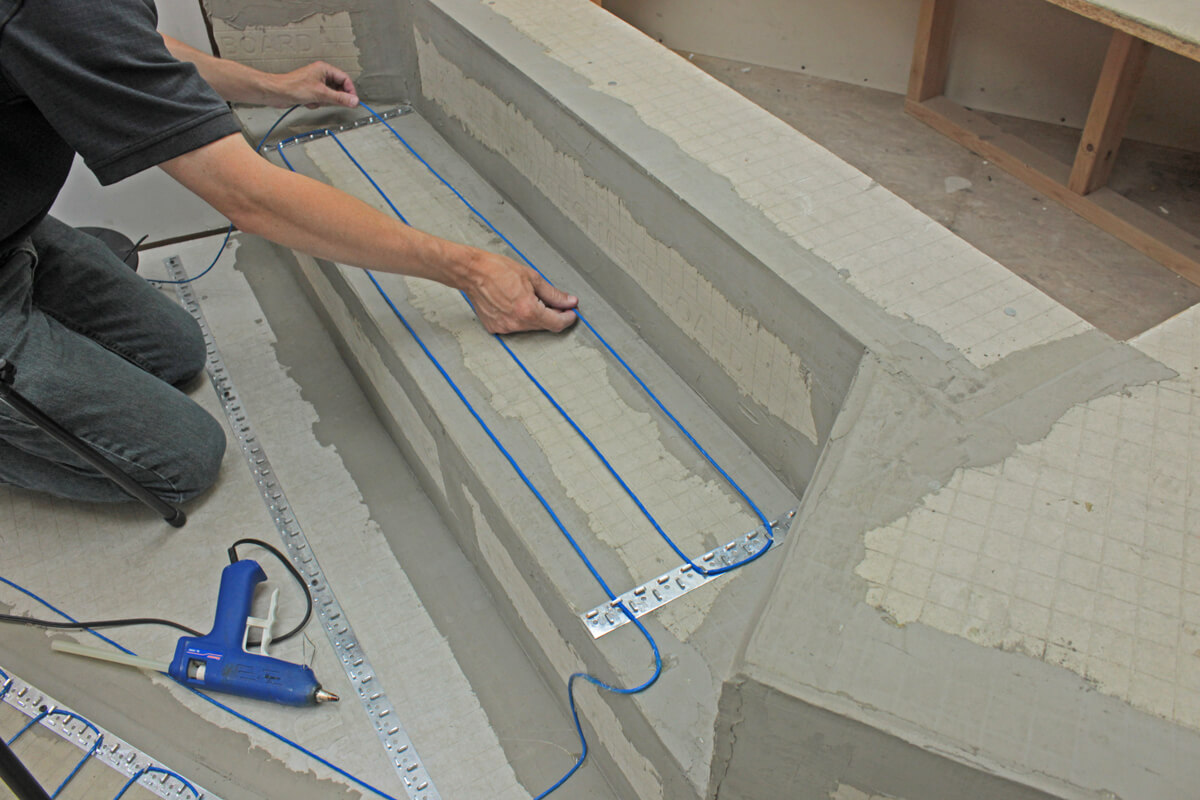
You’ve quoted the project and sold the floor heating system. Now, the focus shifts from planning to confirming that everything is ready for installation day. A thorough pre-installation review helps make sure critical requirements have been addressed before work begins. This can help prevent delays, change orders, added labor, failed inspections, and costly rework once the heating system is in place.
Use the electric floor heating pre-installation checklist below to confirm that the project is ready to move forward, and download our printable Electric Floor Heating Pre-Installation Checklist to take the checklist with you.
Download the Pre-Installation Checklist
1. Confirm the Final Heating Layout
Start by comparing the heating plan with actual field conditions. The layout used to select or size the system may have been created before framing, cabinetry, plumbing fixtures, or other project details were finalized.
Before installation begins, verify:
- Final room dimensions
- Locations of cabinets, vanities, tubs, toilets, islands, appliances, and other permanent fixtures
- Doorways and floor transitions
- Floor drains and other penetrations
- Areas that must remain unheated
- Manufacturer-required clearances
- Planned direction of the heating mat or cable
- Thermostat and floor sensor locations
- Separate heating zones
- Any wet areas included in the project
If any fixture locations or room dimensions have changed since your original quote, review the heating layout and recalculate the actual heated area before proceeding.
2. Make Sure the Substrate Is Ready
The substrate should be fully prepared and ready to receive the heating system before installation begins.
Before installation, verify that the substrate is:
- Clean and free of dust, debris, oil, paint, or other contaminants
- Structurally sound
- Flat and level enough for the planned heating and flooring installation
- Free of loose or damaged material
- Properly repaired where cracks or surface damage are present
- Primed where required
- Fully cured where new concrete, patching compound, primer, or self-leveling material has been installed
- Prepared with any required cement backer board, uncoupling membrane, thermal break, or other approved underlayment
- Compatible with the heating system and the materials that will be installed over it
Document any substrate conditions or preparation requirements that could affect the heating layout, floor height, or installation sequence.
3. Verify the Electrical Rough-In
Confirm that the electrical rough-in is complete and matches the voltage, load, control requirements, and installation plan for the heating system that is actually on site. For larger heated areas, verify whether the total load requires an additional thermostat, power module, or separate heating zone.
Before installation, verify:
- Whether the system is 120V or 240V
- Dedicated circuit availability
- Breaker sizing
- Total anticipated electrical load
- Electrical panel capacity
- Thermostat box location
- Whether an additional thermostat is needed for a separate heating zone
- Whether the system load requires a power module
- Routing for the heating system cold lead
- Routing for the floor sensor
- Required conduit
- Who will complete the final electrical connection
- Whether required electrical permits or inspections have been scheduled
Any remaining electrical work should be identified and scheduled before installation begins so it does not interrupt the heating system installation.
4. Check Finished Flooring and Installation Material Compatibility
Electric floor heating must work with the complete floor assembly. Before installation begins, verify that the finished flooring and all materials between the heating system and floor covering are compatible.
Confirm:
- Final flooring selection
- Flooring manufacturer approval for electric radiant heat
- Maximum floor temperature requirements
- Underlayment requirements
- Mortar or adhesive compatibility
- Self-leveling compound compatibility
- Membrane requirements
- Required installation thicknesses
- Required curing times
- Whether the heating system is approved for the planned floor assembly
- How the heating system will be incorporated into the floor assembly
If the flooring selection has changed since the heating system was specified, recheck compatibility before installation begins.
5. Confirm Wet-Area and Waterproofing Requirements
Showers, wet rooms, and other waterproofed areas require additional coordination before the heating system is installed.
Confirm:
- Which wet areas will receive heat
- Whether a separate heating mat or cable spool is required
- Drain location and drain type
- Whether the heating element will maintain the required clearances from the drain assembly
- Waterproofing membrane being used
- Required membrane banding
- Inside and outside corners
- Seals around penetrations
- Compatibility between the heating system and waterproofing products
- Floor sensor location
- Required testing before waterproofing is completed
Also account for curing time and inspection requirements when planning the schedule. Waterproofing, mortar, and other installation materials may need to cure before the next phase of work begins.
6. Confirm the Required Testing Procedures
Resistance testing is typically required at multiple stages of installation, so it should be planned before work begins.
Before installation starts, confirm:
- Manufacturer-required resistance values
- The meter or testing equipment that will be used
- Who will perform the testing
- When readings will be taken
- Where test results will be recorded
- Whether an alarm or installation monitor will remain connected during subsequent work
- What action will be taken if readings fall outside the acceptable range
Be sure to keep test results, product labels, serial information, receipts, and other required documentation with the project records, as these may be needed for warranty registration or future troubleshooting.
7. Confirm Materials and Components Are Ordered and Ready
Before installation is scheduled, confirm that all required heating system components, controls, accessories, electrical components, testing equipment, and project-specific installation materials have been ordered, received, or otherwise arranged.
Check that:
- Heating system and controls have been ordered for each room or zone
- Required accessories and installation components are accounted for
- Electrical components have been identified and arranged
- Testing equipment and manufacturer-approved repair materials will be available
- Manufacturer installation instructions are accessible
- Any special-order or long-lead items will arrive before installation
Confirm that the ordered model numbers, voltage, heated-area coverage, cable length, thermostat, and accessories match the project plan. For multi-room or multi-zone projects, make sure components are clearly assigned to the correct areas before installation.
8. Confirm Responsibilities, Installation Sequence, and Permits
Before installation begins, confirm that each trade understands its responsibilities, when its work needs to be completed, and what must be finished before the next phase can start.
Verify that all required permits have been pulled and that inspections, testing, curing times, and other hold points are accounted for in the installation sequence. Trades working over the heating system should also know where heating cables will be located and what precautions are required to avoid damage.
9. Complete a Final Pre-Installation Walkthrough
After the required materials, components, responsibilities, testing procedures, and permits have been confirmed, complete one final walkthrough of the room before installation day. Compare actual site conditions with the installation plan and verify that nothing has changed or been missed.
Verify that:
- Final dimensions match the heating layout
- Permanent fixture locations are confirmed
- Required clearances can be maintained
- No unresolved design changes affect the heating system
- The substrate is ready
- Electrical rough-in is complete
- Thermostat and sensor locations are confirmed
- All system components are on site and match the project plan
- Flooring and installation materials are approved and available
- Wet-area and waterproofing requirements have been coordinated
- Required testing procedures and equipment are confirmed
- Trade responsibilities and the installation sequence are clear
- Required permits have been pulled and inspections are accounted for
If anything on the checklist is incomplete, resolve it before installation day.
Get Support Before Your Next Electric Floor Heating Installation
A consistent pre-installation process can help prevent avoidable delays, installation conflicts, and missed requirements. Use our printable Electric Floor Heating Pre-Installation Checklist during your project walkthrough before installation begins.
If you need help with any part of the process, Warm Your Floor’s team of radiant floor heating experts can assist. Contractors can also join our free Pro Contractor Program for help with product selection, floor plan review, installation questions, system compatibility, expedited quotes, special pricing, and other project resources for electric floor heating installations.