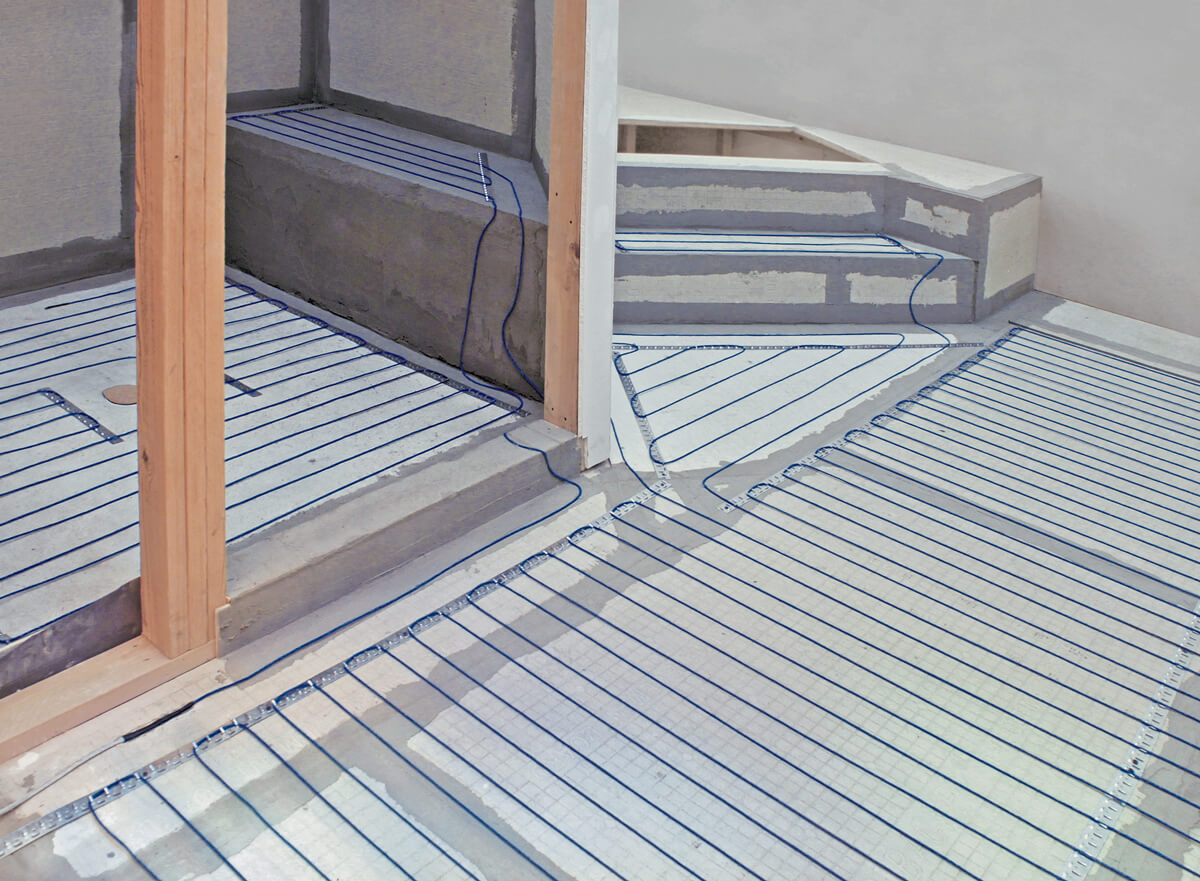
Installation day is when your floor heating plan becomes a working system. If you’ve already completed your electric floor heating pre-installation checklist, the major project requirements should already be confirmed. Now the focus is on making sure the approved system is installed correctly in the field.
A consistent set of installation-day checks helps reduce rework and delays by confirming the system is installed, tested, and protected as planned. Use the checklist below as a reference for what to verify on installation day, and download our printable Electric Floor Heating Installation Checklist to bring with you on the jobsite.
Download the Installation Day Checklist
1. Confirm the Work Area and Trades Are Ready
Before any heating materials are opened or laid out, make sure the installation area is ready for active work and that other trades will not interfere.
Confirm:
- The installation area is clear of unrelated tools, materials, and debris
- The installer has full access to the heated area
- Other active work will not interfere with layout or installation
- The electrician is available if electrical coordination is needed
- Waterproofing, tile, or flooring trades understand when they can enter the area
- Anyone working in the space knows when heating elements will be exposed and need to be protected
If another trade still needs access to the floor, make sure that work is completed before the heating system is laid out.
2. Verify the Heating System and Installation Materials
Once the work area is ready, confirm that the prepared products match the approved plan.
Verify:
- Correct heating system type
- Correct voltage
- Correct mat size, heated-area coverage, or cable length
- Correct room or zone assignment
- Thermostat and floor sensor
- Alarm or installation monitor
- Required membrane, clips, guides, straps, or fastening materials
- Mortar, adhesive, or self-leveling compound
- Waterproofing materials where required
- Required installation and testing tools
- Manufacturer installation instructions
For multi-room or multi-zone projects, keep each system and its related components separated and clearly identified.
3. Confirm Initial Testing Is Complete
Before the heating system is installed, verify that the required initial testing has been completed.
Confirm:
- Heating element resistance is within the manufacturer’s acceptable range
- Required ground testing has been completed
- Floor sensor has been tested where required
- Initial readings have been recorded
- An alarm or installation monitor is connected where required
If any reading falls outside the manufacturer’s acceptable range, installation should not continue until the issue is resolved.
4. Check the Heating Layout
As the heating system is positioned, confirm that the installation continues to match the approved layout and manufacturer requirements.
For all systems, check that:
- Heating elements remain within the approved heated area
- Manufacturer-required clearances are maintained
- Required spacing is maintained
- Heating elements do not cross, overlap, or bunch
- Cold leads can reach the thermostat box
- Factory splices are positioned correctly
- Floor sensor placement meets the thermostat and heating system requirements
- Sensor and cold lead wiring do not interfere with heating elements
Additional checks will depend on the system type and whether the installation includes a wet area.
System-Specific Layout Checks
- Heating mats or cable spools: Confirm the mat or cable spool fits the approved area before installing or unspooling the cable.
- Tape or mesh-backed mats: Confirm only the supporting mesh or backing is cut where permitted and the heating wire is not cut.
If the system does not fit the approved layout while maintaining required spacing and clearances, stop before it is secured and review the layout.
Wet-Area Layout Checks
For showers, wet rooms, or other waterproofed areas, also confirm:
- A separate mat, cable spool, thermostat, or control zone is being used where required
- Required clearances from the drain assembly are maintained
- Heating elements do not interfere with waterproofing seams, penetrations, or drain components
- The power lead splice is at least 12 inches outside the wet area
- Cables or mats come outside of the entry and do not go through the wall
Resolve any wet-area layout issue while the heating system is still exposed and adjustable.
5. Check How the Heating System Is Secured
As the system is secured, confirm that the fastening method matches the system type and manufacturer requirements, and that the heating element remains undamaged and in the required position and spacing.
Also check the following system-specific details:
- Heating mats: Check that the mat lies flat without wrinkles or gaps.
- Tape mats: Check that the mesh or backing is secured without disturbing the heating-wire spacing.
- Loose cable with uncoupling membrane: Check that the cable remains fully seated in the membrane studs or channels.
- Loose cable with clips, guides, or straps: Check that the cable is held securely without being pinched or crushed.
Any movement, spacing, or fastening issues should be corrected while the system is still accessible.
6. Confirm Required Testing Continues During Installation
Verify that resistance testing is being repeated at the stages required by the manufacturer.
Confirm:
- Readings remain consistent with the initial resistance measurement
- Resistance remains within the manufacturer’s acceptable range
- Required ground testing has been completed
- The alarm or installation monitor has not indicated a fault
- Test results are being recorded
If a reading changes unexpectedly or falls outside the acceptable range, stop work before additional materials are installed over the system.
7. Verify the Exposed Heating System Is Protected
While the heating system remains exposed, confirm that the work area is set up to prevent accidental damage.
Check that:
- Sharp tools and loose fasteners are kept away from heating elements
- Tools, buckets, and materials are not being placed or dragged across mats or cable
- Heavy materials are not resting on exposed heating elements
- Unnecessary foot traffic is restricted
- The alarm or installation monitor remains connected where required
- Unrelated work is kept out of the installation area
- Other trades know that exposed heating elements are present
Keep the heating system protected from foot traffic, tools, and other trades until it is covered by the next layer of the floor assembly. Don’t forget to complete a final QA check before it is permanently covered.
Get Support For Your Electric Floor Heating Installation
Installation-day checks can help prevent damage, reduce rework, and keep the project moving toward the next phase. Use our printable Electric Floor Heating Installation Checklist as a quick jobsite reference.
If you have questions about your next radiant floor heating project, Warm Your Floor’s radiant floor heating experts can help. Contractors can also join our free Pro Contractor Program for additional support, expedited quotes, special pricing, and other project resources.